

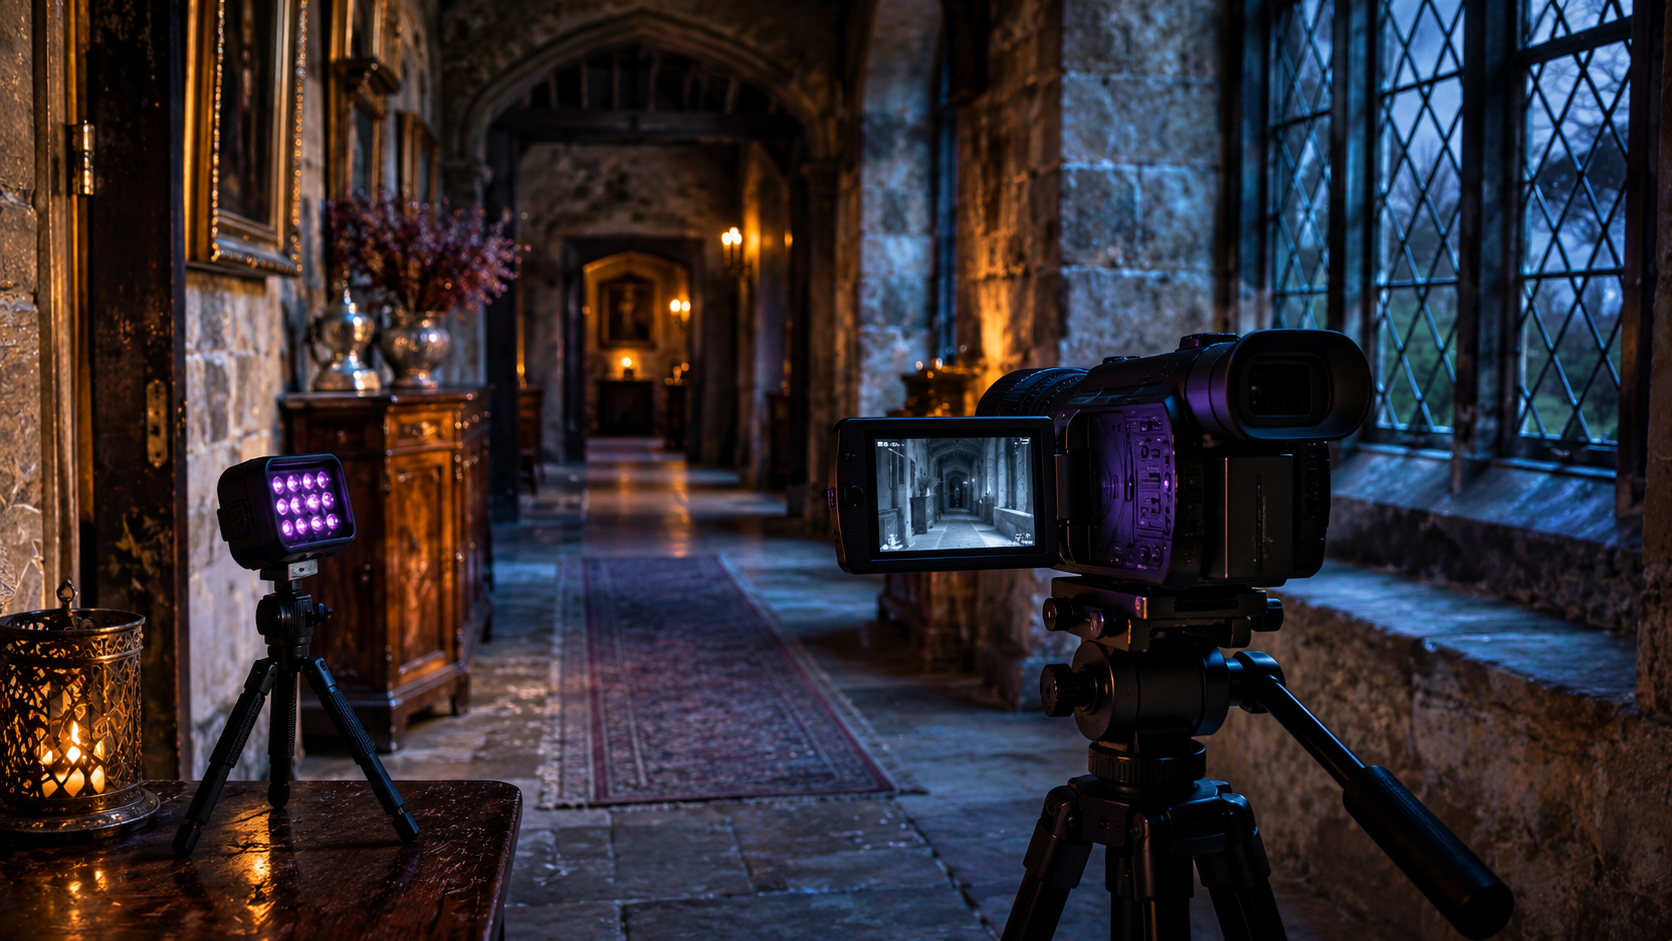
Quick answer: To set up a night vision camera for ghost hunting, secure it on a tripod, aim it at an area you can identify clearly, activate compatible infrared (IR) illumination if the room is dark, and make a test recording in the same lighting conditions as the investigation. Keep the lens away from reflective surfaces, check focus and exposure, synchronise other recording devices, and save a short baseline clip. Always rule out dust, insects, glare and camera artifacts before describing footage as unexplained.
Night vision can make a dark location easier to document, but a camera positioned badly can create more mysteries than it solves. A pale floating circle may be dust caught in an IR beam. A figure in a window may be a reflection. A moving shadow may simply be a person outside the frame. The aim of this guide is to help you produce clear, reviewable footage so that you can establish what happened, when and under which conditions.
Already choosing a camera? Our best night vision cameras for ghost hunting guide compares different models and purchasing options. This tutorial deliberately focuses on camera setup, lighting, positioning and evidence review rather than repeating the buying recommendations.
What does a night vision camera actually record?
Most infrared night-vision camcorders used by paranormal investigators record reflected near-infrared light rather than detecting heat. The camera needs a sensor and optical system capable of responding to IR, plus a source of illumination when there is too little ambient light. Built-in or separate IR LEDs act rather like a torch that the camera can see even when people cannot see much of the light. This is the basic illumination principle explained in Google’s night-vision guide, although the controls and performance differ between camera models.
A modified “full-spectrum” camera can be sensitive to a wider range of wavelengths than a typical unmodified camera, depending on its sensor, filters and lens. However, that does not automatically mean that it records ultraviolet light effectively, sees in total darkness or captures paranormal activity. It still needs suitable illumination. A thermal camera works differently, measuring infrared radiation associated with temperature; our guide to thermal cameras and ghost hunting explains that distinction in more detail.
Neither night vision nor full-spectrum filming has been scientifically established as a method for detecting ghosts. Their practical value is the ability to record ordinary events in lighting conditions that would otherwise be difficult to film.
How to set up a night vision camera: nine practical steps
1. Choose a permitted, safe position before turning off the lights
Walk through the location in ordinary lighting. Identify doorways, windows, uneven floors, stairs, electrical equipment, moving curtains and places where people will pass. Get permission to record, agree where cameras can be placed and avoid filming private areas or people who have not consented. Do not enter an unsafe or restricted building just to get a dramatic angle.
Decide what question the camera should answer. Are you watching a doorway? Recording whether an object moves? Documenting the whole room while people conduct a session? That purpose determines the position better than aiming vaguely into the darkest corner.
2. Mount the camera on a stable tripod or fixed support
A tripod makes two things easier: keeping the same framing throughout the session and comparing a questionable frame with the moments before and after it. Place the tripod on a level surface outside the usual walking route; secure cables and avoid blocking exits. If the camera uses a magnetic or wall mount, confirm that it is permitted and firmly attached.
Try to include a few fixed reference points, such as a doorframe, chair or table edge. They make it easier to recognise whether the camera itself has shifted. Check the angle from the actual recording screen, not only from where the tripod stands. For more on choosing a field of view and avoiding nearby surfaces, see Google’s camera-placement advice; its examples concern home security cameras, but the positioning principles are useful here too.
3. Add infrared illumination without creating glare
If the room is completely dark, many cameras need an IR illuminator to record a useful image. A camera with built-in LEDs may provide enough light for a small room, while a larger hall may benefit from a separate IR lamp. Do not assume the advertised IR range will apply to every room: effective coverage varies with camera sensitivity, illumination angle, surfaces and the amount of ambient light.
Place the lamp so that it lights the area you want to monitor rather than shining into the lens. An off-axis position can sometimes reduce reflections from dust or nearby surfaces. Avoid pointing the IR beam directly at a window, mirror, glossy picture frame, pale wall close to the lens or another camera. Professional camera maker Axis identifies these reflections, along with droplets and dirt, as common causes of poor night images.
4. Test the view in the darkness you will actually record
Switch the space to its investigation lighting, then review a live preview or a 20–30-second test recording. Check whether faces, furniture, doors and the far end of the room are distinguishable. A bright central patch with black corners suggests uneven illumination; a washed-out edge suggests a nearby reflection. Changing the camera angle by even a small amount may improve the result.
If you are filming through a window, built-in IR LEDs can reflect off the glass back into the lens. Usually it is better to position the camera on the same side of the glass as the area being filmed, or use carefully placed external illumination if the equipment supports it. Google’s night-vision troubleshooting guidance describes this common problem.
5. Check focus, exposure and video settings
Use autofocus to establish a sharp picture, then consider locking focus where supported if the lighting and camera position will remain fixed. Low light can cause autofocus to hunt. Check the objects you care about at the distance they will actually appear, especially at the far end of a corridor.
Start with the camera’s normal high-quality video mode; a consistent 25 or 30 frames per second is practical for many recordings. If you can change shutter speed, remember that longer exposures brighten the picture but blur moving subjects. Raising electronic gain can reveal more detail while adding grain. Higher resolution may help identify objects, but compression and poor lighting can still ruin fine detail. The correct settings depend on your device, so compare test clips instead of treating a single number as a universal “ghost hunting” setting.
Use the highest sensible recording quality you can store reliably, turn off unnecessary digital effects and avoid enhancement modes you cannot reverse. The Axis image-quality guide explains the real trade-off between light, exposure and motion blur.
6. Plan storage, power and recording mode
Insert a formatted memory card that is compatible with the camera, check available space and charge the battery or arrange permitted mains power. If you use an external power bank, secure its cable to prevent accidental disconnection. Test whether the camera can keep recording for your intended session length.
Continuous recording captures the moments before an incident but uses more storage and power. Motion-triggered recording saves space, yet it can miss activity that does not cross the sensor’s detection threshold or begin recording too late. Choose based on what you are trying to observe, and note the recording mode in your log. Our motion sensors for ghost hunting guide explains why different sensors behave differently.
7. Synchronise your cameras and audio
When two cameras and an audio recorder disagree about timing, investigating a sound or movement becomes much harder. Set device clocks where possible and create a visible-and-audible synchronisation cue, such as a clear hand clap that every device can capture. Record the exact start time and who is operating each device.
If your investigation includes EVP questions, keep a separate audio recorder running and identify movements aloud rather than whispering. Our step-by-step guide to recording EVP explains how to log the questions, keep the original audio and review possible false positives.
8. Record a baseline before beginning the investigation
Film the room for a few minutes before the formal session. Turn on the same lights and equipment you will use later. Record ordinary movement: ask a teammate to cross the doorway, move an object with permission, open a door and walk near—but not into—the camera’s field of view. These clips help you recognise how people, shadows, insects, reflections and movement blur actually look on your particular device.
Consider taking one short clip with IR illumination on and another with it off, without changing the camera’s position. If a bright haze disappears only when the IR lamp is switched off, that is an important clue about the lighting rather than evidence of a presence.
9. Label, preserve and review the original footage
At the end, announce that recording has stopped and save the unedited file before trimming or enhancing anything. Use descriptive filenames, such as 2026-11-11-hallway-cam1-ir-on.mp4, and keep your notes with them. If you export a slow-motion clip or adjust brightness, label it as an edited copy and retain the original.
For anything apparently unusual, record the timestamp, camera number, IR settings, people present, nearby windows and possible sources of movement. “Unexplained on first review” is a more defensible description than “confirmed ghost.”
Where should you position a night vision camera?
Good placement depends on the area you want to document. A wide view may offer more context; a tighter view can show a specific object clearly. The examples below are starting points to test, not universal mounting rules.
| Investigation area | Practical camera position | What to watch out for |
|---|---|---|
| Hallway or doorway | Stable position showing the full doorway plus a little surrounding wall | Reflective doors, distant people and light changes |
| Room with objects | Fixed view that keeps the object and nearby floor visible | Off-frame people, drafts and insects near the lens |
| Historic room or stone hall | Angle that avoids bright close walls while showing distinct landmarks | IR flare, deep shadows and moisture |
| Outdoor path or garden | Weather-protected position with a clear area of interest | Rain, fog, plants, passing traffic and wildlife |
If you want to include an object as part of an investigation, document where it began and who could access it. Our article on trigger objects for ghost hunting offers further practical context. For outdoor filming, your ghost hunting torch or headlamp should be a safety tool first, even if you prefer to record under infrared illumination.
Which infrared illuminator is best for the setup?
The most useful IR lamp is the one that matches your camera and illuminates the space evenly. Common near-infrared illuminators are described as 850 nm or 940 nm, but those labels are not a simple quality ranking. Some 850 nm emitters show a faint red glow; 940 nm light is generally less conspicuous to people, while usable range depends on lamp output and sensor sensitivity. Check your camera’s specifications before buying a lamp, as not every camera responds equally well to both. For a real-world example of manufacturers using both wavelengths, compare the infrared specifications in Google’s Nest camera technical specifications.
A wider beam suits broad rooms but spreads the available light. A narrower beam may help a longer corridor but leave dark areas outside the beam. Adjustable light intensity is helpful if close surfaces are glaring. Keep the illuminator out of participants’ direct line of sight where possible, and follow the manufacturer’s electrical and eye-safety guidance. Never use an unknown high-power IR source simply because the light is difficult to see.
Why do night vision cameras show orbs, streaks and shadow figures?
Many apparently paranormal shapes are ordinary imaging effects. Dust, rain and insects close to a lens may reflect IR light and appear as bright, out-of-focus circles or streaks. This is often called backscatter. Glare from windows, glossy walls and moisture can also make large bright shapes or rings.
Manufacturer guidance from SimpliSafe, Cisco Meraki and Axis documents these effects in ordinary night-vision equipment. Our article on orbs in photographs and paranormal evidence discusses the wider interpretation of circular anomalies.
| What appears on screen | Possible ordinary explanation | How to check |
|---|---|---|
| Bright floating orb | Dust, moisture or an insect close to the IR lamp and lens | Compare IR on/off footage and check for nearby particles |
| White haze or glowing ring | IR reflecting from glass, wall, dome cover or moisture | Clean lens, move IR lamp or change angle |
| Long bright streak | Insect movement, raindrop or slow shutter blur | Inspect adjacent frames and weather conditions |
| Dark moving shape | Person, animal, shadow or an object outside the frame | Check other angles and investigator movement log |
| Blocky patches or shifting noise | Video compression, high electronic gain or low light | Review original file and compare higher-quality test settings |
| Image repeatedly brightens and darkens | Automatic exposure or IR day/night switching | Review device settings and nearby changing light |
Can night vision footage prove a paranormal encounter?
No camera image alone identifies the cause of an unexplained event. A clip may be interesting and still lack enough context to establish what it shows. Independent angles, an uninterrupted original recording and an honest search for ordinary explanations are more useful than dramatic labels or edited highlights.
A five-minute night vision setup test
Before leaving the camera unattended, run this short control sequence in the same lighting you plan to use:
- Minute 1: Confirm the memory card, battery, timestamp, recording mode and fixed camera position.
- Minute 2: Switch to the expected night illumination and check the farthest important part of the scene.
- Minute 3: Move the IR lamp or tilt the camera slightly to identify unwanted glare or bright corners.
- Minute 4: Ask a teammate to walk through the area, then check motion blur, focus and recorded audio.
- Minute 5: Review the clip at normal speed, note baseline noises and save it with the setup details.
If the footage is unclear now, it will not become more reliable simply because the investigation lasts longer. Fix the setup first.
Night vision camera setup checklist
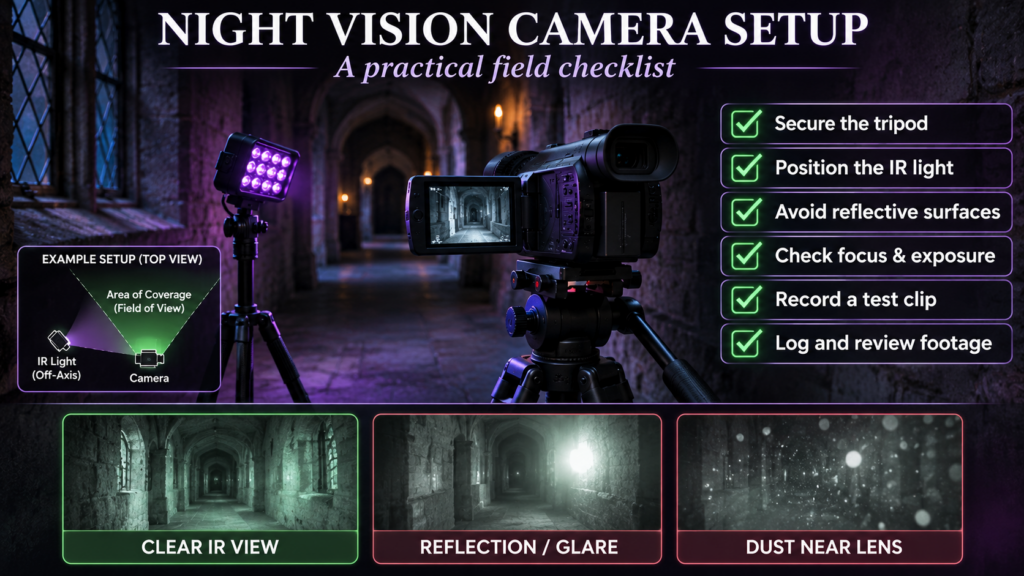
Use this simple checklist before an investigation. It also works as a repeatable method when using the same equipment at different locations.
- Permission to film, clear walking routes and a safe location
- Tripod secured with a stable, repeatable field of view
- IR illumination compatible with the camera and tested in the actual room
- Windows, mirrors and reflective surfaces checked for glare
- Lens clean, focus verified and exposure tested on a moving person
- Recording format, memory card, battery and duration checked
- Camera clocks and audio synchronised with a clear cue
- Baseline video recorded and original files labelled for later review
Frequently asked questions
Can a night vision camera work in complete darkness?
Yes, some cameras can record in total visible darkness if they are sensitive to near-infrared light and receive enough IR illumination. Many ordinary low-light cameras still need visible light. Test the actual device rather than assuming the words “night mode” guarantee zero-light filming.
Why does my night vision camera look foggy or white?
A foggy image is often caused by IR light reflecting from a nearby surface, moisture, dirt or an unsuitable camera position. Clean the lens carefully, move any reflective object or adjust the angle. If a separate IR lamp is available, try placing it away from the lens. See the manufacturer’s guidance before changing settings.
Should I leave a night vision camera recording all night?
You can record for long periods if the camera, storage and power supply safely support it, but be deliberate. Long recordings take time to review. A shorter, logged session with known conditions can be more useful than many hours of footage with no context.
Can I film through a window with infrared night vision?
Built-in IR can reflect directly off glass, making outdoor subjects difficult to see. Placing the camera outside or moving external IR illumination to the far side of the glass may solve the problem where safe, permitted and compatible with the equipment. Avoid exposing non-weatherproof cameras or cables to rain.
Do I need both full-spectrum and infrared cameras?
No. For a beginner, one camera that provides a clear view of the room is enough. A converted full-spectrum camera and an IR night-vision camera may behave differently depending on filters and lighting, but neither has a proven ability to detect spirits. If you are still choosing equipment, compare options in the night vision camera buying guide.
Does night vision pick up heat or cold spots?
Ordinary near-infrared night vision does not produce a temperature map. A thermal imager measures a different form of infrared radiation and reports apparent temperature patterns; thermal anomalies also require careful interpretation. Read our thermal imaging guide for more detail.
How can I tell whether an orb is dust?
A moving orb cannot always be identified from a single frame, but a bright, blurry circle appearing only under close IR illumination is consistent with nearby dust, moisture or an insect. Compare the original video with other camera angles, controls and environmental conditions. Do not treat an unidentifiable shape as automatic proof of a supernatural cause.
Final verdict: better setup produces more useful footage
A night vision camera is at its most useful when it answers a clear question: what moved, where, when and under what conditions? Stable framing, suitable illumination, sensible video settings and a reliable baseline reduce the number of misleading clips. You do not need the most expensive camera to record responsibly; you need a setup you understand and can reproduce.
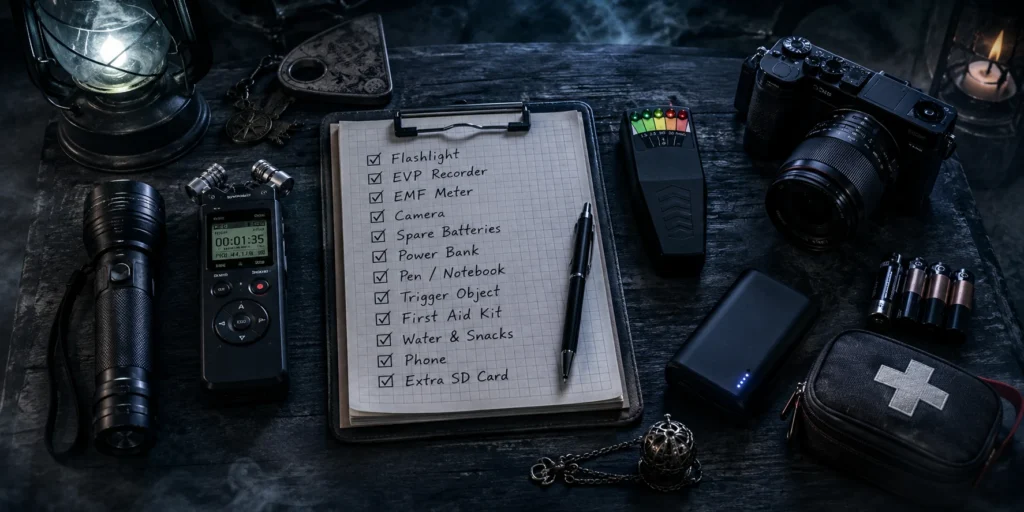
For product recommendations, return to our Best Night Vision Cameras for Ghost Hunting guide, or read the GhostStop Phasm Cam review if that particular model interests you. For planning the rest of your equipment, our ghost hunting equipment checklist keeps everything in one place. These guides cover different stages of the same process: choose the tool, set it up, and document the results carefully.
Sources and further reading
- Axis — Troubleshooting image quality: focus, shutter speed, IR reflections and night-mode problems.
- Cisco Meraki — Troubleshooting video image quality: infrared glare, moisture, exposure and compression.
- Google Nest Help — Night Vision video quality: practical examples of window and wall reflections.
- SimpliSafe — Why orbs can appear in night vision: dust and near-camera reflection.